Adding a Button
The first component we will be adding is the send button. This will teach us how to add a UI element, and it will show us how to do something in Java when a button is clicked.
UI elements in Android are defined in XML files called "layout" files. They are in the
res folder under layout. We will be adding this button to the Main Activity, so the
first XML file that we need to look at is res/layout/activity_main.xml.
After opening that file in Android studio, you should see a view similar to this.
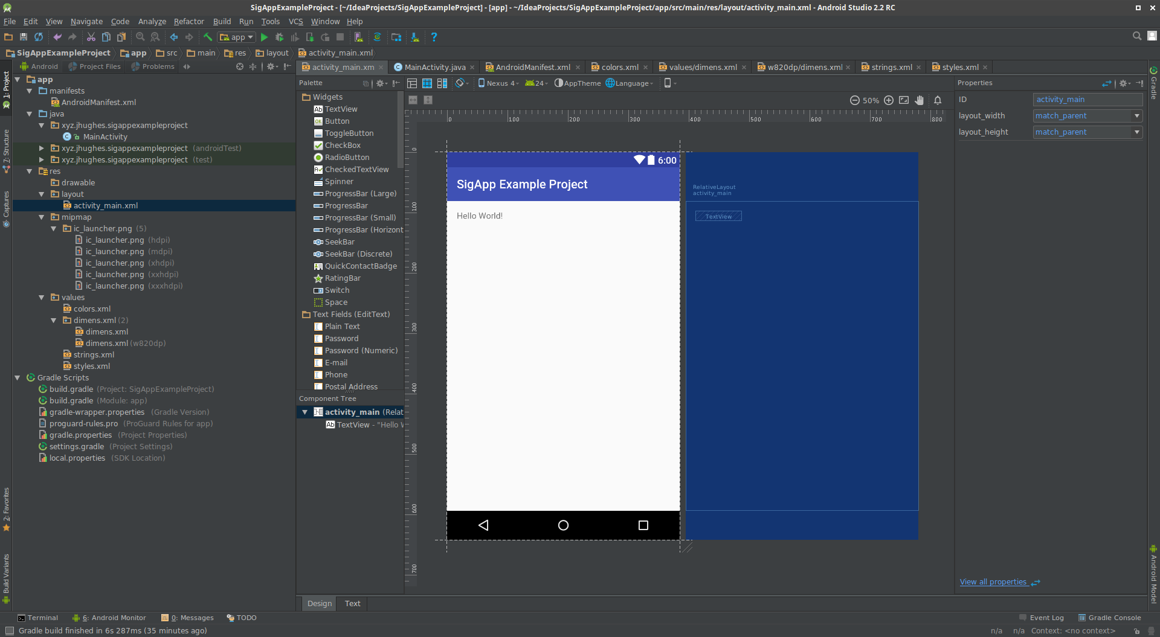
This is the design tab. It shows you a preview of the UI of your app that is defined in activity_main.xml. It also provides a way to drag and drop UI elements into the app.
We will be using this drag and drop feature to add a Button to our app. Find the "Button" element in the sidebar and drag it into the app.

Congrats! We have now added a button to our app. But the button is mostly useless without an action for it to do when clicked. We need a way to handle the button being clicked.
Handling clicks
In order to handle clicks we need to make a method in our Java code that will be called automatically when the button is clicked. We will be adding this to MainActivity.java
In order for our button to send clicks to the Main Activity, we need the main activity to listen for clicks. We do this by making the MainActivity implement an interface called View.OnClickListener. Open MainActivity.java and add the pmplements statement as shown.
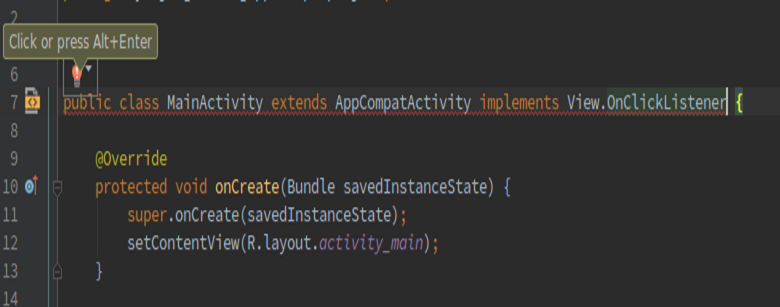
Notice that Android Studio has underlined what we have just added as an error. This is where having an IDE can be very useful. Press [alt]+[enter] to automatically fix the error. Make sure that your cursor is on the line that needs to be fixed when doing this.
This will automatically import the OnClickLister and also implement the methods that we need to implement in order to satisfy the interface. After fixing the errors your MainActivity should look like this.
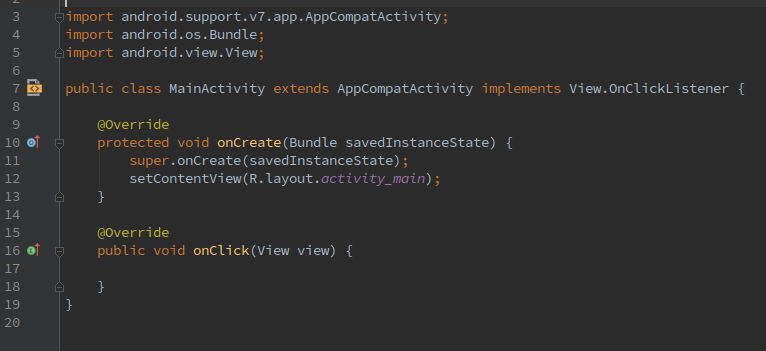
Notice that there is now a method called "onClick(View)". This will be the method that will be called whenever the button is pressed.
Now that we have added a method, we need to tell the Button to call that method when pressed. Do this by returning to the activity_main.xml file and finding the text tab at the bottom of the screen. This will show the raw XML that is defining the button we added.
Inside the Button tag, add the attribute highlighted below.
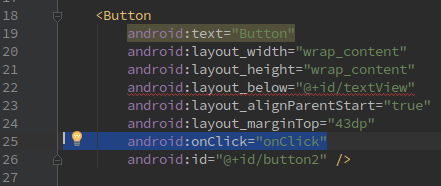
This has now told the Button that it should call "onClick" when it is pressed by the user.
Making a click do something
Now that we have a method that is called when a button is clicked, we should make that method do something so we can make sure it all works. To do this we will be using a Toast. In Android, a toast is a small bubble that appears at the bottom of the screen to give a user feedback about what the app is doing. We will be using it to show that the button has been pressed.
Add the following line to your onClick(View) method in MainActivity.java

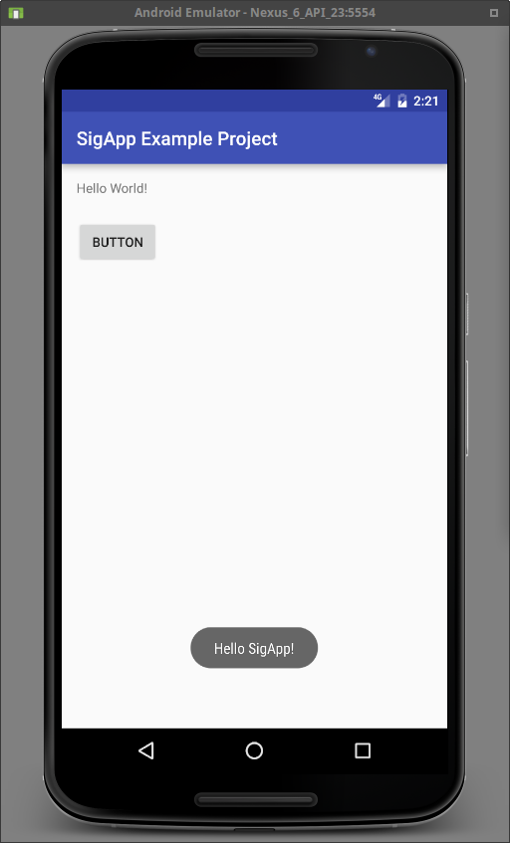
This will make the text "Hello SigApp!" appear when the button is pressed.
Running the app
Now it is time to run your app for the first time. Plug in your Android device or start your emulator (instructions are available in the first section of this tutorial for how to set up an emulator and how to set a device into Developer Mode).
Once your device (or emulator) is ready, click the run button at the top of the Android Studio window. It should look like a green play button.
Once the app loads on your phone, you should see the following when the button is pressed.
All Done!!!
Congratulations! You have now added your first UI element to an Android app and made it show a Toast when clicked! Next we will be adding a way to accept user input.
If you experience any issues with your code in this section of the tutorial, the code up to this point is available on github here: https://github.com/Purdue-ACM-SIGAPP/fall16-tutorials/tree/master/0927Button