Creating your first project
Android Studio contains multiple default app templates that can be used to make app development move faster. We will be using one of the most basic of these to get a feel for how all the parts of an Android app work together.
Creating your app project
We will start by walking through the process of creating an Android Studio project and explaining the important parts of the process as we go.
After opening Android studio click "new project" and the following box will appear.
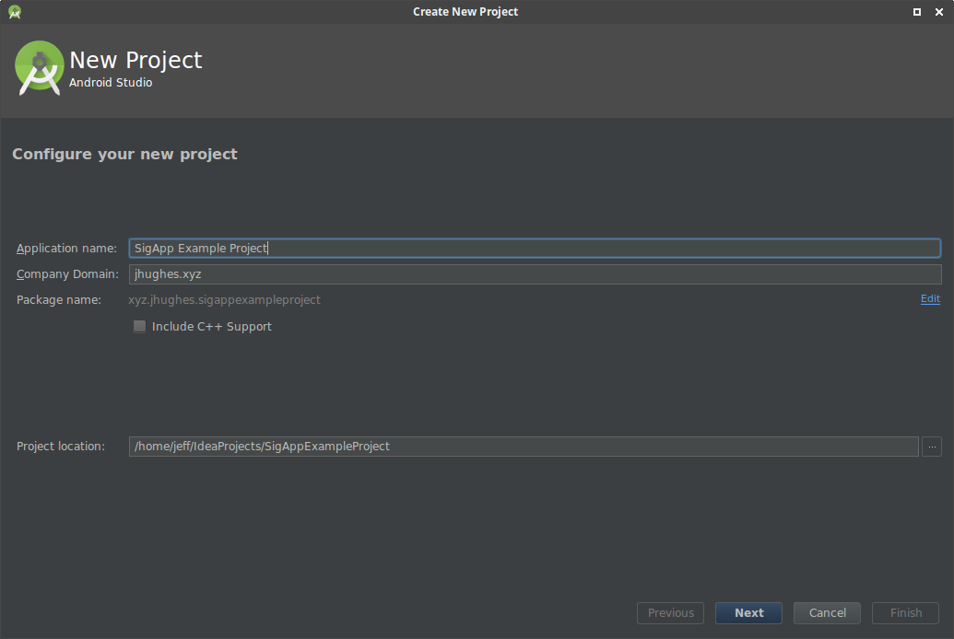
Name the application whatever you want.
The "Company Domain" field will be turned into the Java package for the project. Package names need to be unique for each Android application. Convention says to use your domain, if you have one, as your package name. If you do not own a domain name, then use your school's domain with your alias (eg. username.cs.purdue.edu) or your name itself (eg. david.michael.tschida).
Hit Next, then the following will appear.
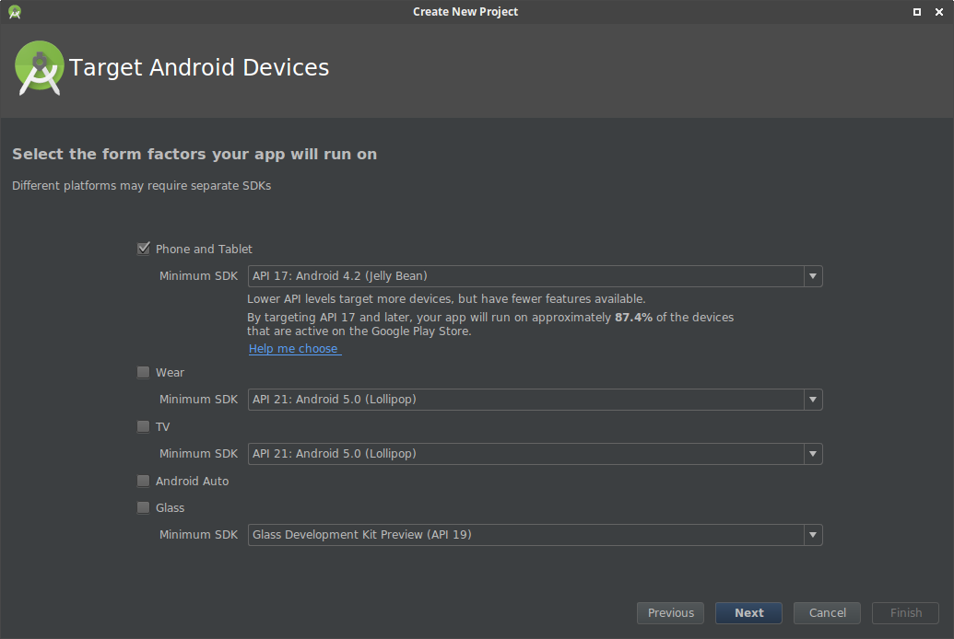
This is where we tell Android studio what version of Android we want to target. Different Android versions have different capabilities so not all apps will work on all versions.
If you want the majority of people to be able to run your app, targeting "API 17" is generally recommended. This will allow 87% of the world's Android devices to run your app.
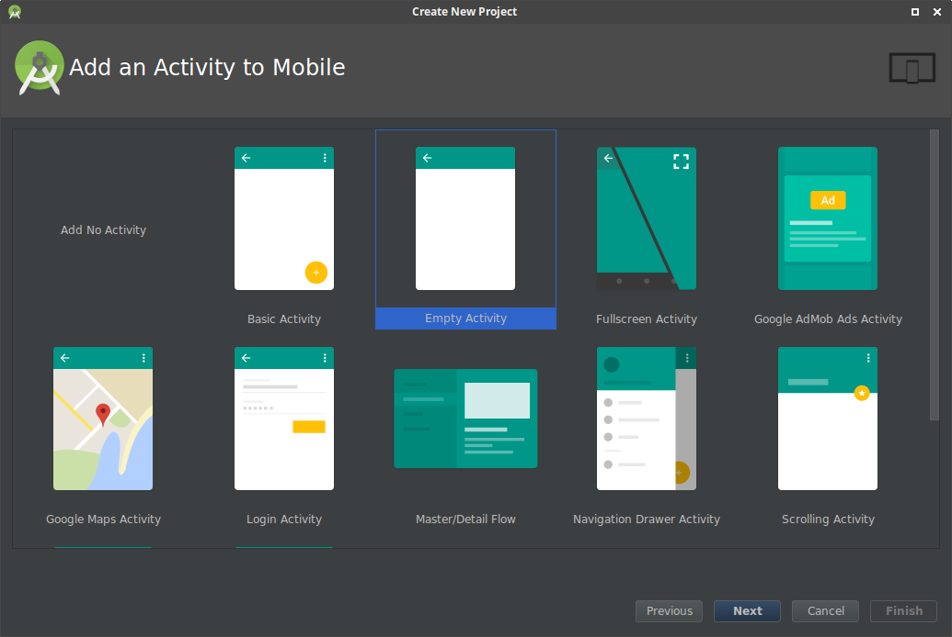
This is where we select what our first Activity will use for a template. Because we will be learning how all of the parts of Android work we will be using the "Empty Activity" template first.
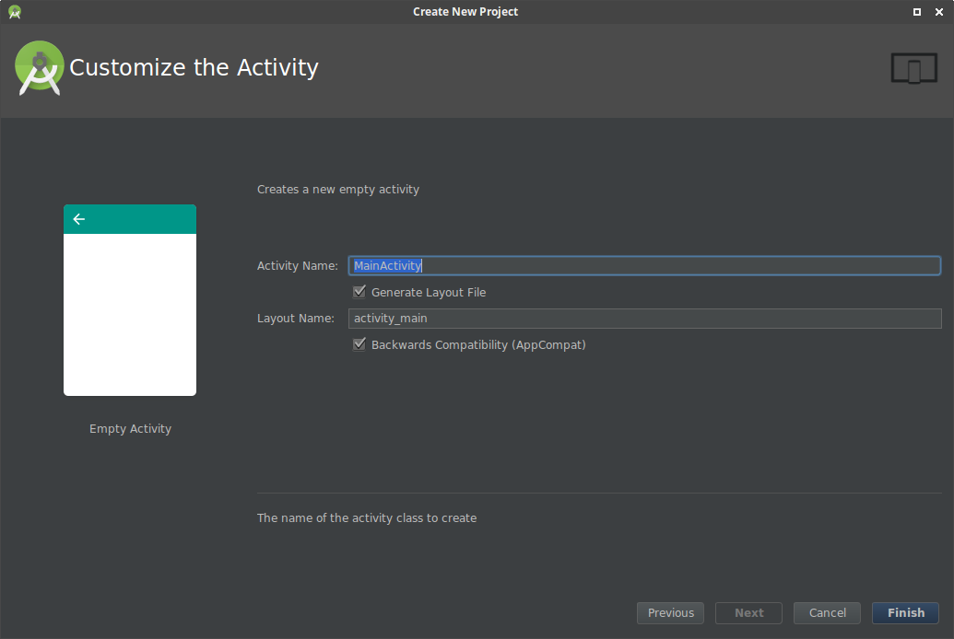
This is where we do the initial setup of the first Activity. Convention says to name your first Activity "MainActivity" so we will do that.
Make sure you have the "Generate layout file" box ticked as we will be using a layout for this activity.

After following the above steps, you Android studio window should look something like this.

In your file pane you should see all the above files and folders, we will be going over what some of those mean now.
These files make up the parts of your Android application. Android applications are broken up into a few parts which we will be going over now.
Parts of an Android Application
Hopefully these short explanations will make the number of files that we just created seem less daunting to you. Don't worry about remembering all of this, but hopefully it will make it less intimidating.
Manifests
The manifest in an Android application tells the Android OS, the Play store, and other apps what your application is capable of.
- It maintains a list of screens (Activities) that you app has.
- It lists permissions that your application requires.
- It lists the background services that your app has.
- It tells other apps what can be shared to your application.
Java
This is where you write all of the logic for your Android application. In a new project there are three folders under Java. The ones highlighted green are for adding tests to your application and will not be used in this tutorial. The other is where your application's main code will go. We will be working in this folder heavily in this tutorial.
Resources
The res folder is where you keep your application's views, strings, layouts, images, among other things. Primarily we will be using the res folder to store XML files that tell your app what Views to display, much like how HTML defines how a website should look.
Gradle
Gradle is a build system that manages things that Android studio needs in order to turn your code into an Android app. Think of it as a layer on top of javac. We will be talking about gradle in more detail later.