RecyclerViews
Adding the RecyclerView library
Google provides the RecyclerView as a library so that it can be used on apps targeted for older devices. We need to include this library in our project.
Many times a library is added by simply adding a jar to the project manually. But Android provides something much cleaner than this.
Gradle
Gradle is a build system that Android Studio includes to make dealing with complex Android projects easier. It has a lot of very useful features, but the one we will be using today is it's dependency management.
If you remember from the file overview at the start of this document, there are a series of Gradle files that were added when we created our project.
Navigate to build.gradle (Module: app).
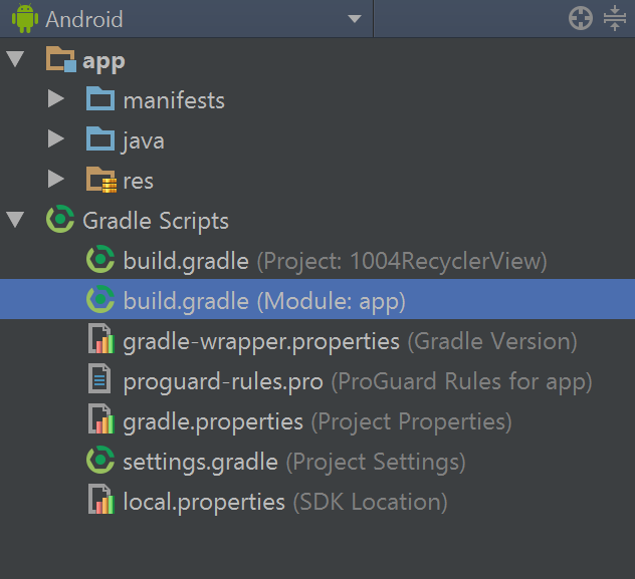
This is where the dependencies for your app are stored. Notice the two blocks present in this file
- android
- dependencies
Briefly, the android block tells Android studio the following:
- What version to use to build your app
- What versions of Android your app supports
- The version of your app itself
- The formal name of you app
- etc.
However, the dependencies block is what we care about right now. This block contains a list of libraries that our app needs in order to run. When we build our app, Gradle uses this list to download binaries and source code from a repository called JCenter. Don't worry too much about the inner workings of this process, it is mentioned here in order to demystify it a little.
Adding a dependency on recyclerView
In order to use RecyclerView, we need to take a dependency on it. This is done by adding a line to the debendencies block of build.gradle.
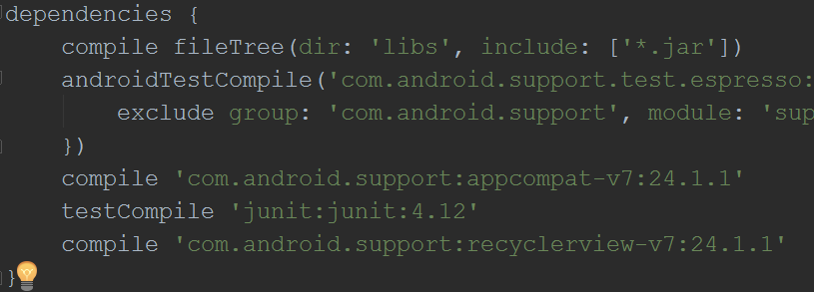
Add the last line shown to your dependencies block.
At this point Android Studio will show a banner telling you
Gradle files have changed since last project sync.
Simply click Sync Now on that banner and Gradle will download the files you need for RecyclerView automatically.
Components of a RecyclerView
A RecyclerView has a few components that we will need to either create or connect. They are the following.

Pulled from developer.android.com. CCA 2.5
We will start by creating the RecyclerView, represented by the blue box above.
Adding the RecyclerView to our XML
Just like we added the Button, EditText, and TextView to our layout, we need to do the same for our RecyclerView.
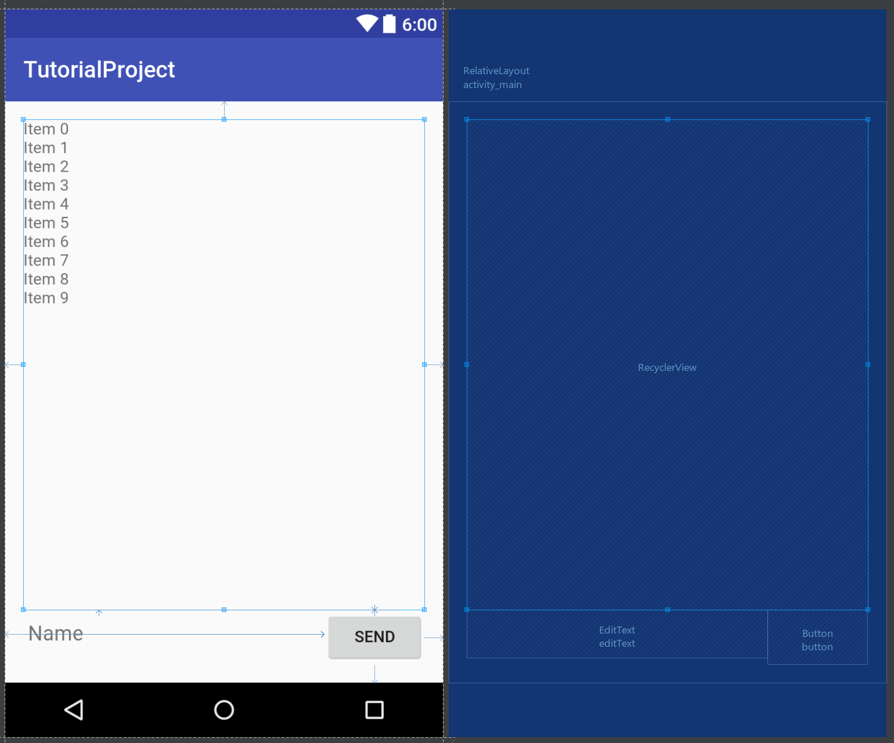
Go to your activity_main.xml as before and do the following.
- Remove the TextView, we do not need it anymore.
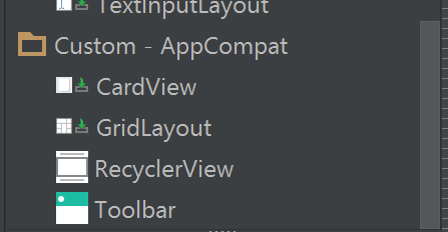
- Insert a RecyclerView. It will look like the following in the side panel.
- Enlarge the RecyclerView to make it fill the top part of the screen as shown.
- In the
texttab, add an ID to the RecyclerView if there is not one already. It should look like the following.

Note: It is okay if your XML does not look exactly like the one above. Because we have been dragging our elements in to place, some variations may occur.
Accessing the RecyclerView from Java
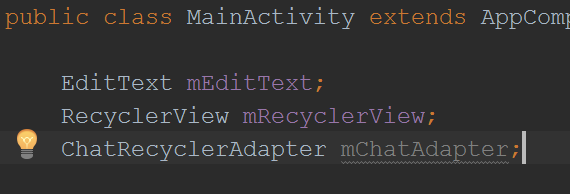
Since we have deleted the TextView, we need to delete all the references to it in our MainActivity.java.
This means deleting the mTextView variable and all references to it.
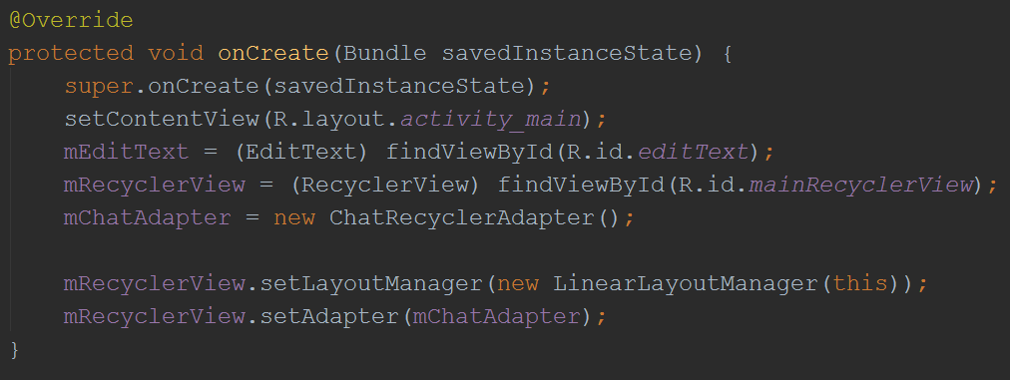
After removing the TextView, create a member for the RecyclerView and "find" it in your onCreate(Bundle) as shown.

We have now added the blue portion of the component chart.
Pulled from developer.android.com. CCA 2.5
LayoutManager
We need a LayoutManager to tell the RecyclerView how to display our messages. Since we just want a simple vertical list, we can use one of the default LayoutManagers. Add the following line to your onCreate(Bundle).

This tells the RecyclerView to display our messages in a linear order, vertically.
Filling the RecyclerView with data
We need a way to add our messages to this new RecyclerView. This is done with an Adapter.
Adapters
An adapter is a common pattern in Android. Many view components take Adapters to map data into UI elements. A RecyclerView is an example of this. But first, let's discus what an Adapter will do.
Take for example, the Laundry App.

Notice that there are a series of list items here, each with its own set of data, but they all have the same structure.
Let's look at one more closely.

This entry represents Earhart Hall, it displays a set of datapoints about the dorm.
- Name of the dorm: Earhart Hall
- Number of washers available: 1
- Number of washers total: 9
- etc.
This is a specific example of a RecyclerView. In this case, the RecyclerView is using an Adapter to turn the data (Earhart Hall, 1, 9, 2, 9), into a list entry.
There are two main steps in this process which we will be implementing in the Adapter we are about to create.
- Inflate an XML View
- Fill it with data
Creating a new Layout for our list items
We need to define a layout for a single element in the list. It will work the same as our activity_main.xml, but we need to create it manually.
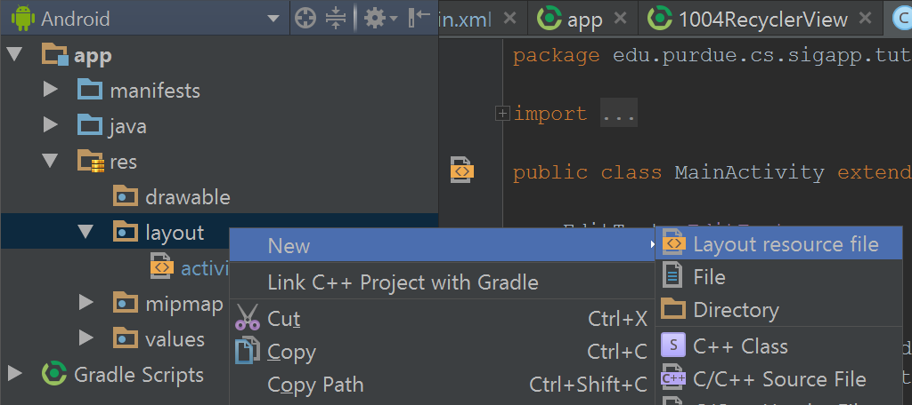
Do this by right-clicking the layout folder in your project pane. Go to New>Layout Resource File.
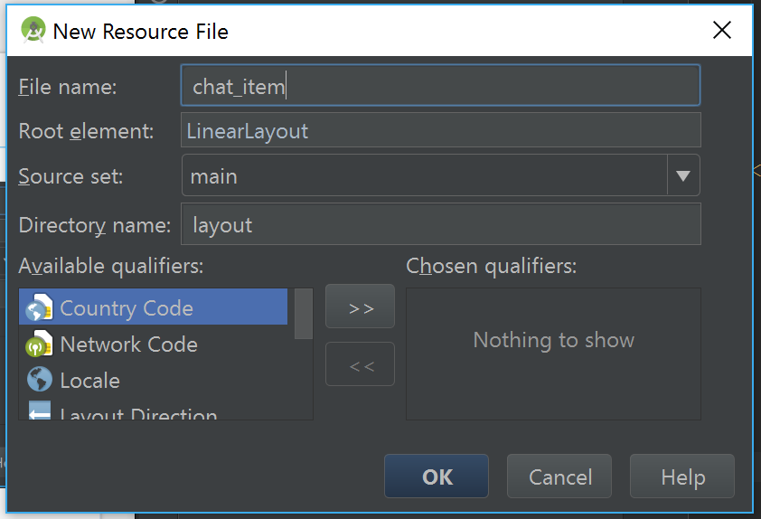
A modal will appear. Fill it in as shown.
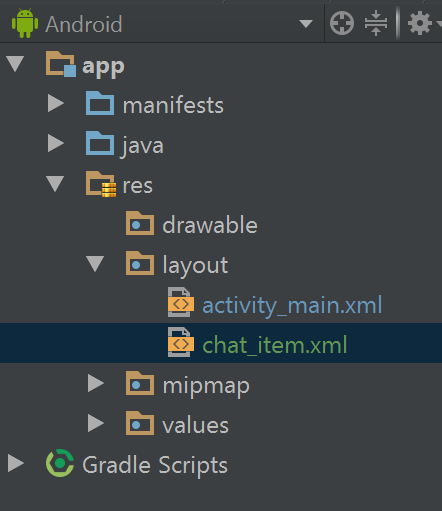
This will create a new file titled chat_item.xml in your layout folder as shown.
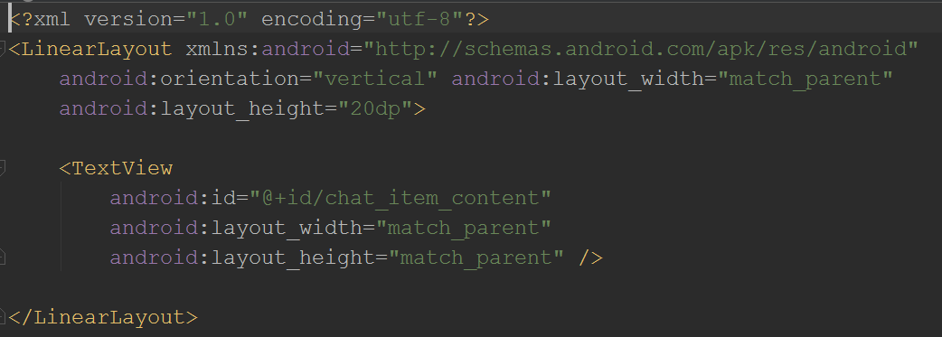
We just need a simple TextView in this new layout, because we are only displaying a chat message.
Add the TextView with the “Text” tab, don’t forget to add an ID.
The height of the LinearLayout at the top should be 20dp (density pixels).
Unlike the last TextView we worked with, it does not need a “text” entry because we will be adding that dynamically.
Your layout file should look like this
We have now created the layout for an individual item in our list. Next, we need to create our Adapter in order to put this to use.
Creating the Adapter
The adapter is just a Java object that extends a particular class. Let's create a new java class by right clicking our java package.
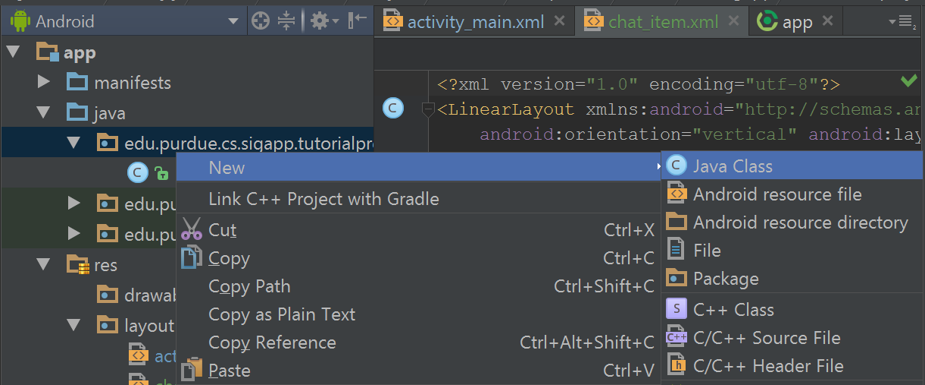
Note: Make sure you are right clicking the package that contains your MainActivity. The other two packages listed are for creating tests for your app. We are not using them now, so don't create any new classes in them.
Fill in the "Create New Class" window as shown.
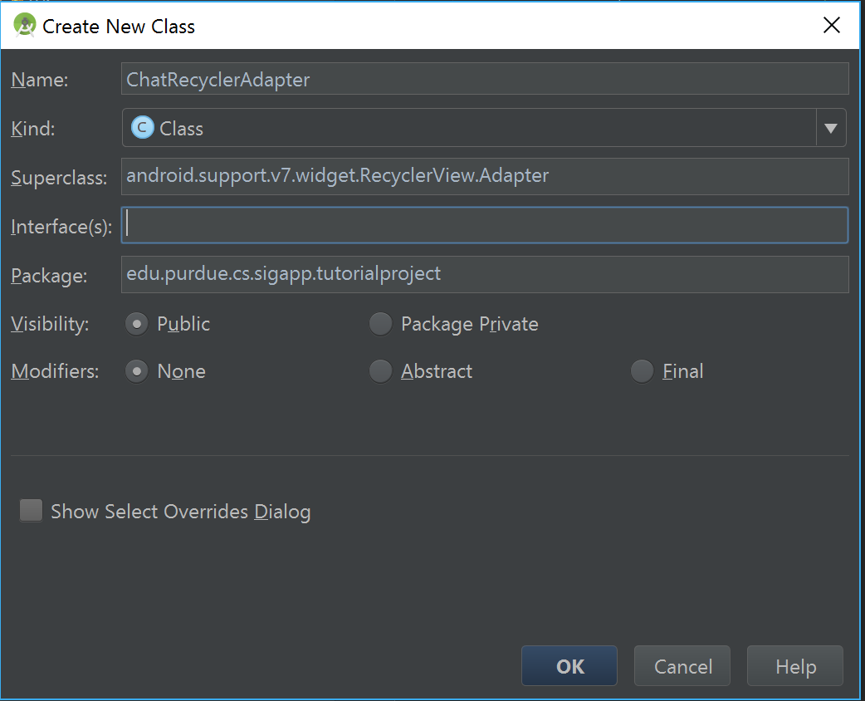
After clicking "OK" you should see a new Java class next to your MainActivity. When you open it, it should look like this:

As we did with the MainActivity in the first section, use [alt]+[enter] to automatically implement the required methods. Your file should now look like this:

Let's take a look at the methods we see here.
onCreateViewHolder(ViewGroup, int)
This is the method that we will use to satisfy step 1 from above: Inflate an XML View.
Inflate in this context means taking the XML file and turning it into a set of View objects that we can interact with.
Before we continue however, notice that this method returns a RecyclerView.ViewHolder and not a View. Remember how when we wanted to interact with our EditText we needed to run findViewById() and store it in a variable?
Let's look at our Laundry example again.
This entry has 6 different UI elements that need to be managed (the title, image, and each number). And there are multiple dorms. Even though right now our list item only has a single TextView, the RecyclerView wants us to create a "ViewHolder" to contain all of the View elements that we want to interact with.
This is because running findViewById() can be very slow, so we don't want to run that 6 times for every item that appears on the screen as we scroll.
Let's create a ViewHolder. Because we only need to use our ViewHolder inside our Adapter, create it as an inner class as shown.

Notice that this ViewHolder takes in a View, and then runs findViewById(...) to get and store each element we want to interact with. This may seem like overkill right now, but as your list items get more complex (profile pictures, timestamps, custom colors, chat bubbles, etc) this will make managing that complexity easier and more efficient.
Now that we have a ViewHolder, we can inflate our View. Thankfully Android has a function that will help us out here.
Add the following to your onCreateViewHolder(...).

We have now completed step 1 of the adapter.
onBindViewHolder(ViewHolder, int)
Now that we have inflated a View, we need to fill it with data. This is done inside onBindViewHolder(...). But first, we need somewhere to store our data.
Because our messages are simple, let's just create an ArrayList at the top of our adapter as shown.

Also, add a method to allow other objects to add messages to our ArrayList.
Add the following as a method in your Adapter.
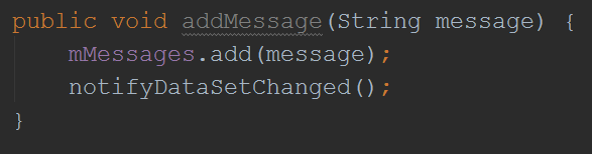
Notice that there is a call to notifyDataSetChanged() after we add to our messages. This tells the RecyclerView that it should check for a new message in the list and rebuild the list. Make sure you call this whenever you update your data.
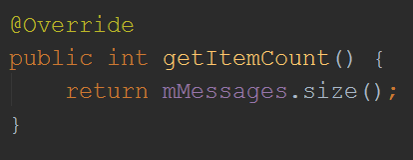
Finally change your getItemCount() to look like the following.
Now that we have data, we can bind it to our view. Add the following to onBindViewHolder(...).

Adapter Recap
We have now completed the two functions of an adapter, inflating a view, and populating that view. Now, the RecyclerView will do the rest of the work by calling onCreateViewHolder() then onBindviewHolder() to display messages on the screen.
To learn more about RecyclerViews and how they efficiently load views check out Google's documentation here:
https://developer.android.com/reference/android/support/v7/widget/RecyclerView.html
Connecting the Adapter and adding data
We have created the Recyclerview and the Adapter, but we need to tell our RecyclerView to use our Adapter, then we need to start adding data.
Create a member for the Adapter we have created.
In your onCreate() add the following.
Finally, we need to add our messages to the Adapter as they are "sent".
Do this by making your onClick() look like this:

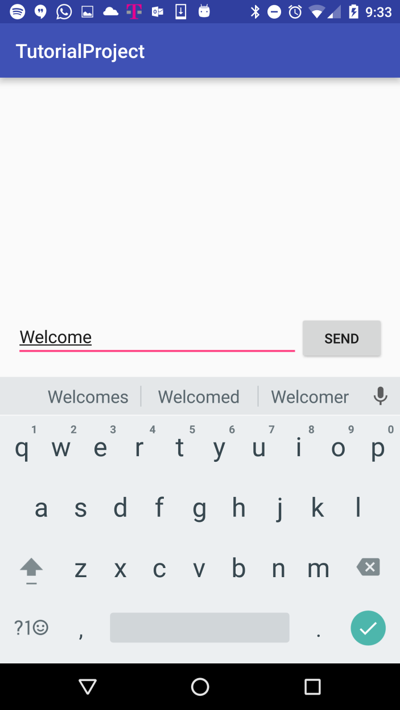
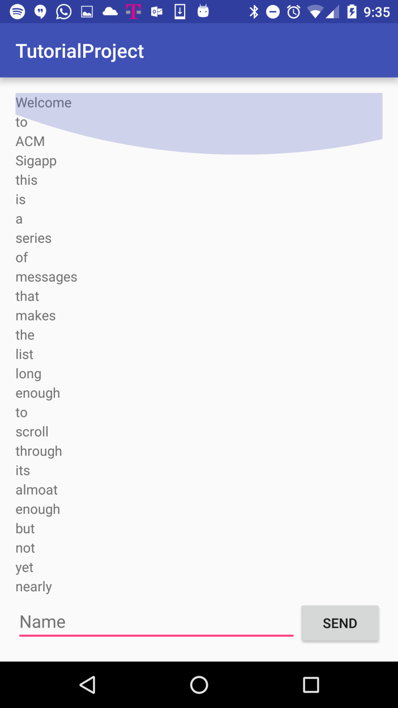
Demo
We have now completed adding an efficient way to display messages in our app. Let's see what this looks like.
Run your app by connecting your phone or running your emulator then pressing the play button at the top of Android Studio. Refer to the start of this tutorial to review how to prepare your emulator or Android device.
Your app should look like the following.


Congratulations
You have now completed adding a RecyclerView.
You have learned the Adapter pattern and how to display data in a list.